




How to Connect Hydraulic Attachments On a 2.5T Yanmar
Running a hydraulic attachment, whether that's a breaker, an auger, or a tilt bucket, means getting the connection right before you start work. Get it wrong and you're looking at a coupler that won't seat, oil going where it shouldn't, or an attachment that just won't operate.
This guide covers connecting and removing hydraulic attachments on Pronto Hire's 2.5T Yanmar excavator. It picks up after the attachment is already mounted on the machine, so if you need a refresher on using the quick hitch itself, our How To Use A Quick Hitch On A Yanmar Excavator guide covers that in full. We also have a Youtube tutorial covering the full process.
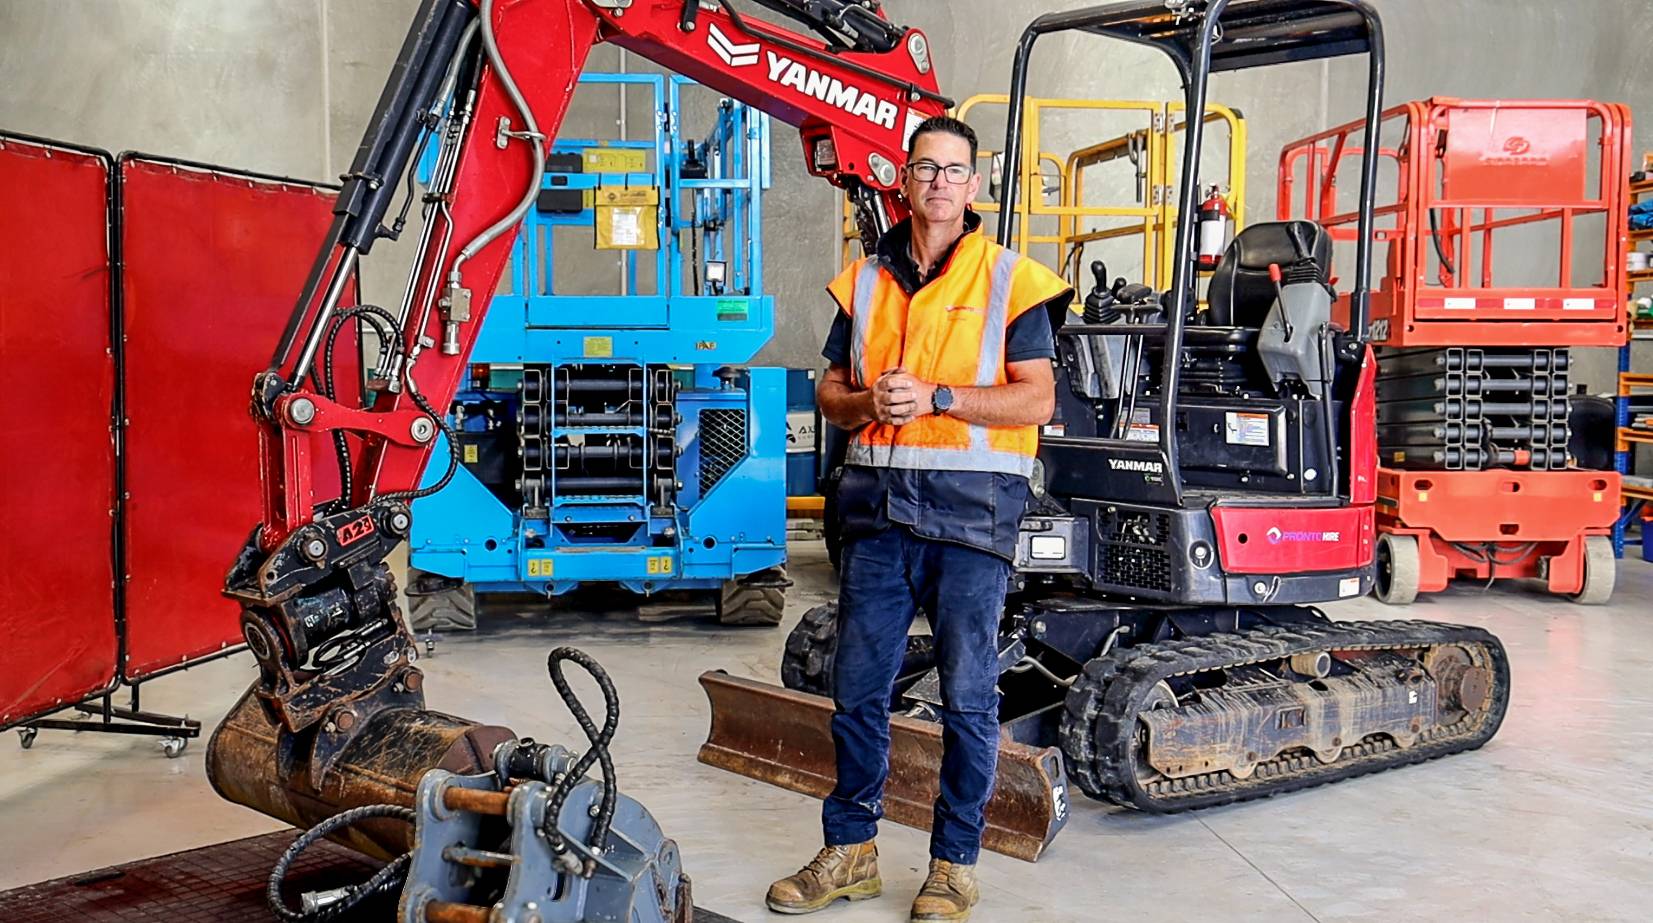
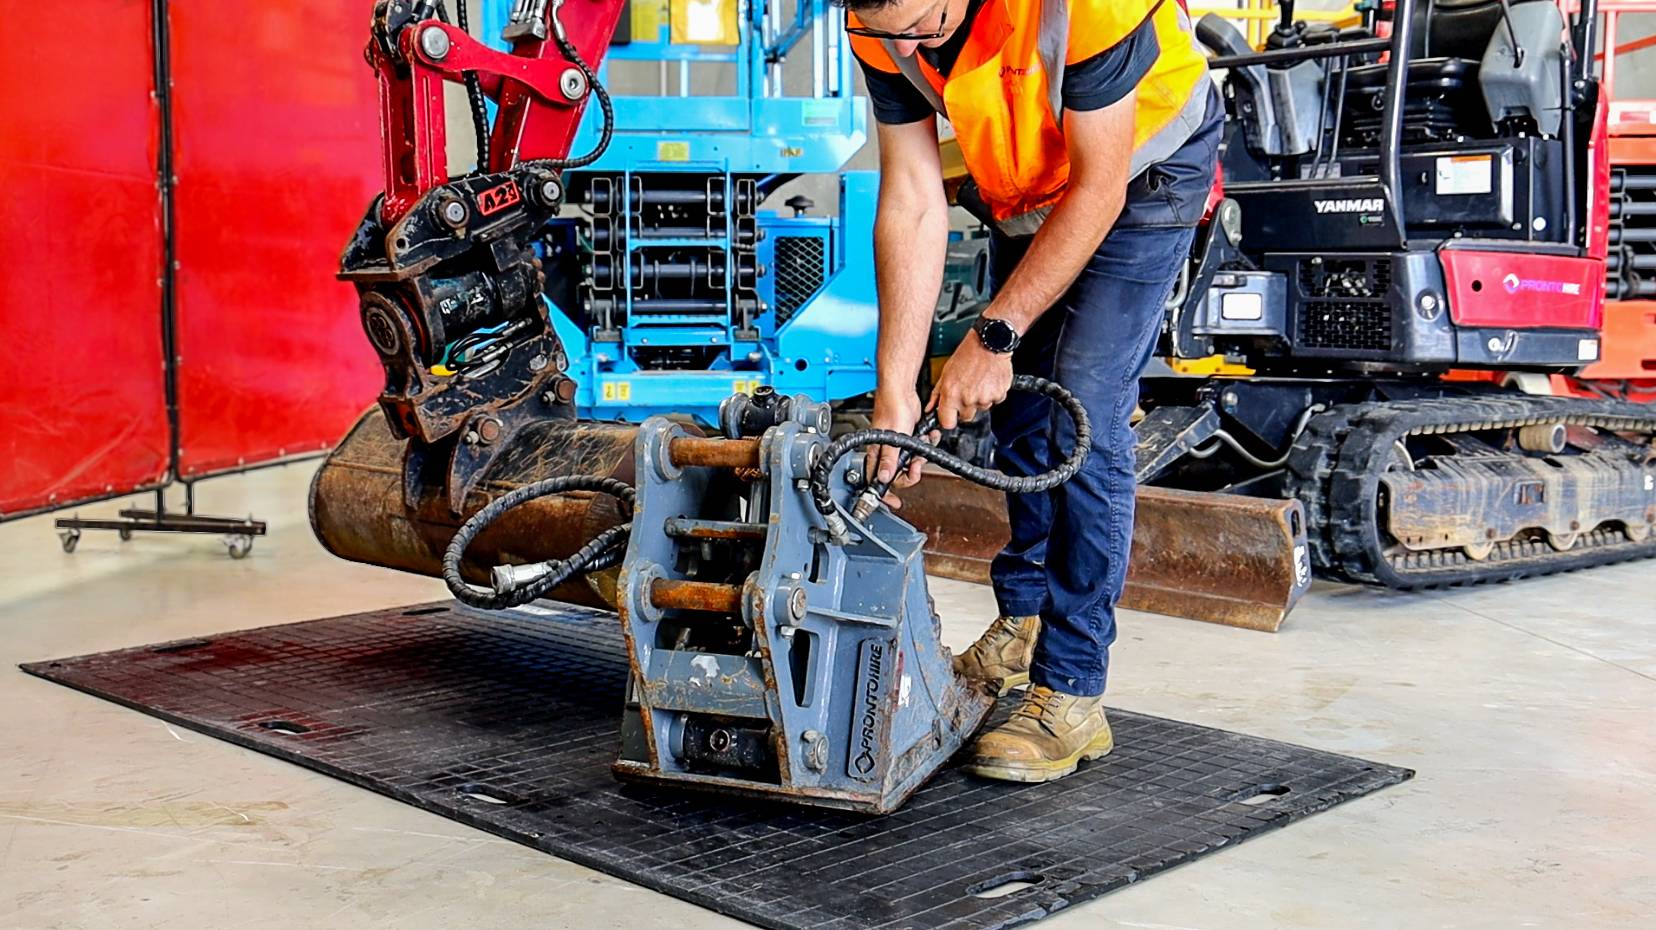
Before You Begin: Safety Basics
Same basics as always. Make sure you're on flat, stable ground, and check that no one is within the swing area of the digger before you start.
Get those two sorted first, every time.
One Thing Worth Knowing Before You Start
On the 2.5T, the auxiliary hydraulic line that powers your attachment is shared with the tilt function. That means before the attachment will actually operate, you need to divert flow from the tilt to the attachment using a tap near the controls. It's a small thing, but it's why there's a tap step later that wouldn't apply on a machine where tilt and attachment run on separate circuits.
Attaching A Hydraulic Attachment
Step 1: Hook The Attachment On
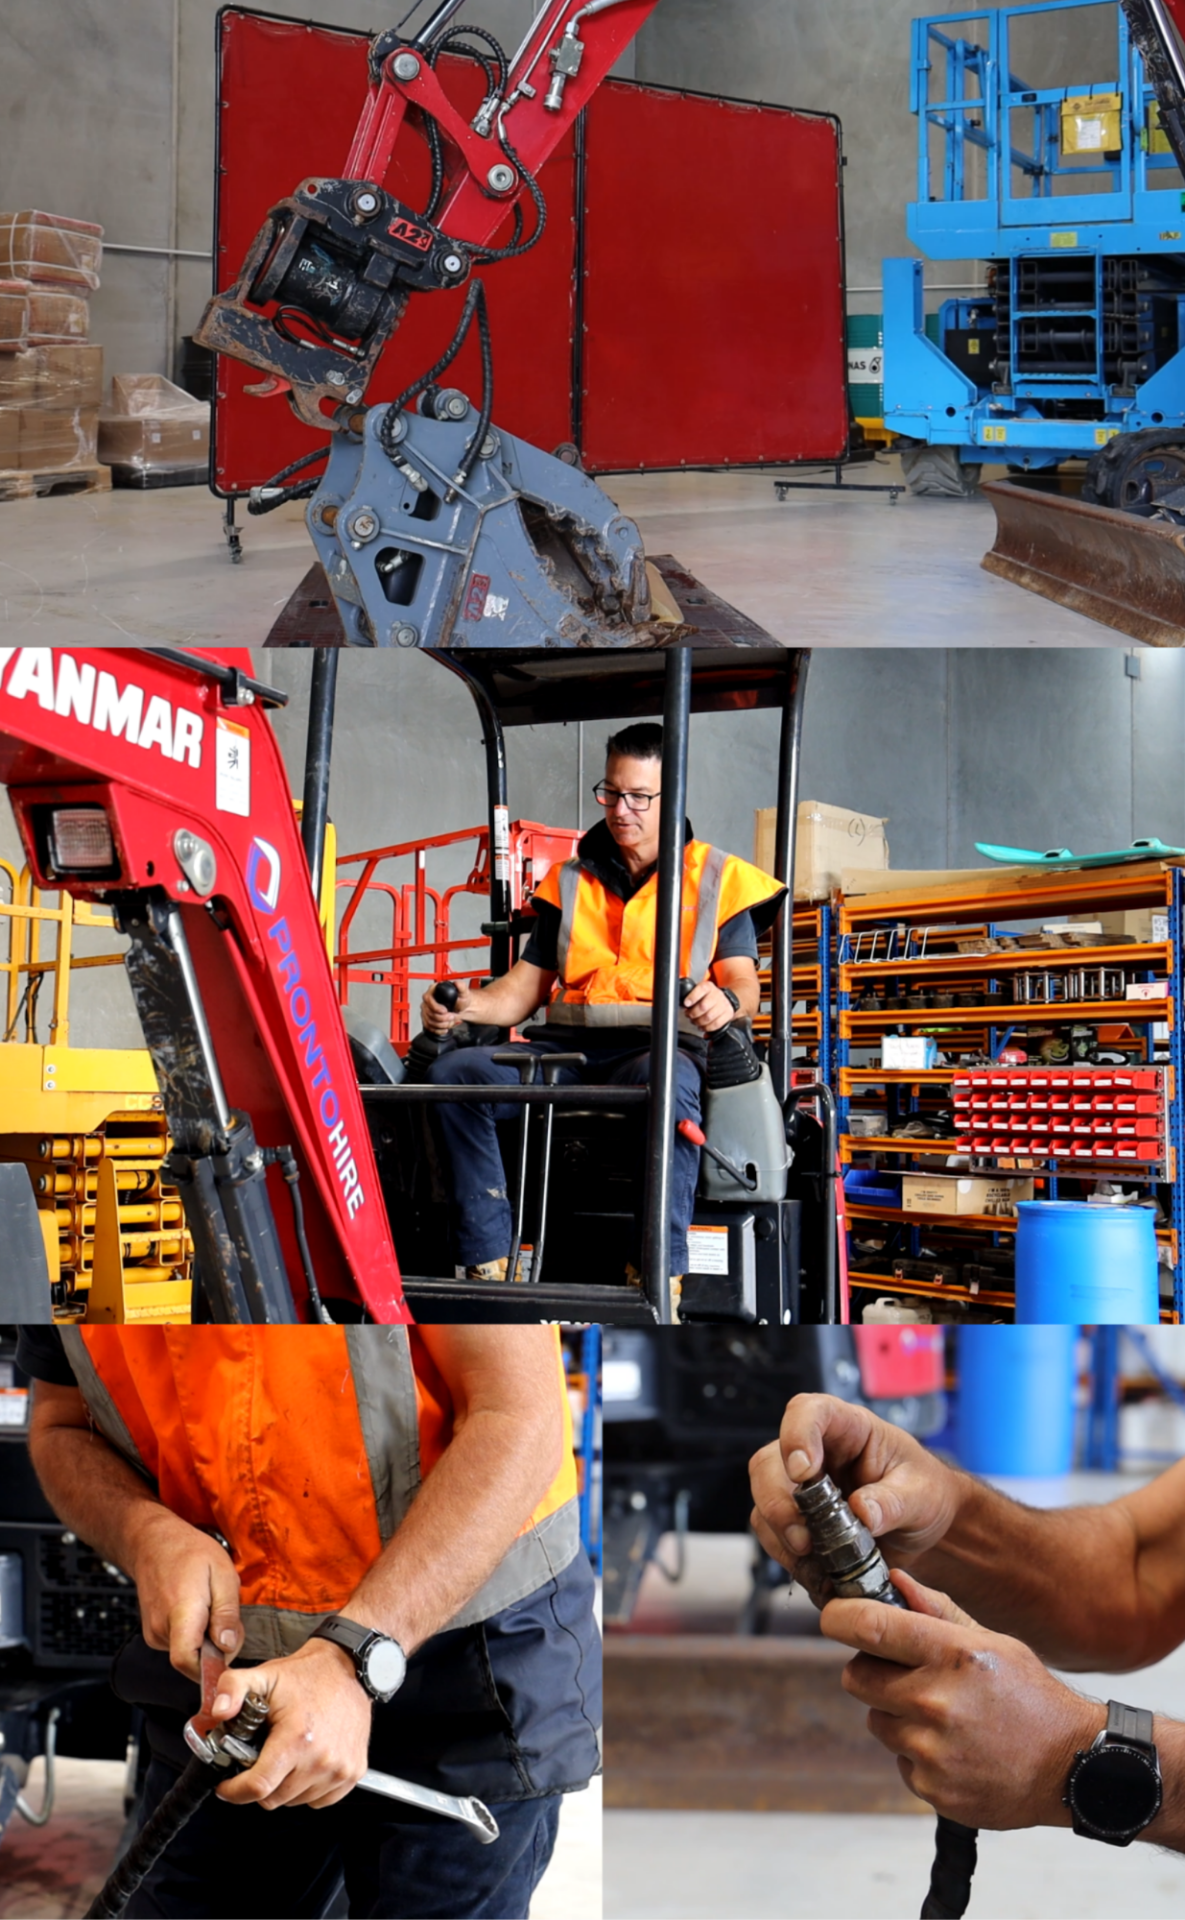
Before touching any hydraulics, get the attachment mounted using the quick hitch, the same way you'd hook on a bucket. Power on the quick hitch, dismount whatever's currently attached, swing over and hook onto the front pin of the attachment, then set to couple so the rear hook extends and locks it on. Power off and check it's seated properly.
Step 2: Release Hydraulic Pressure
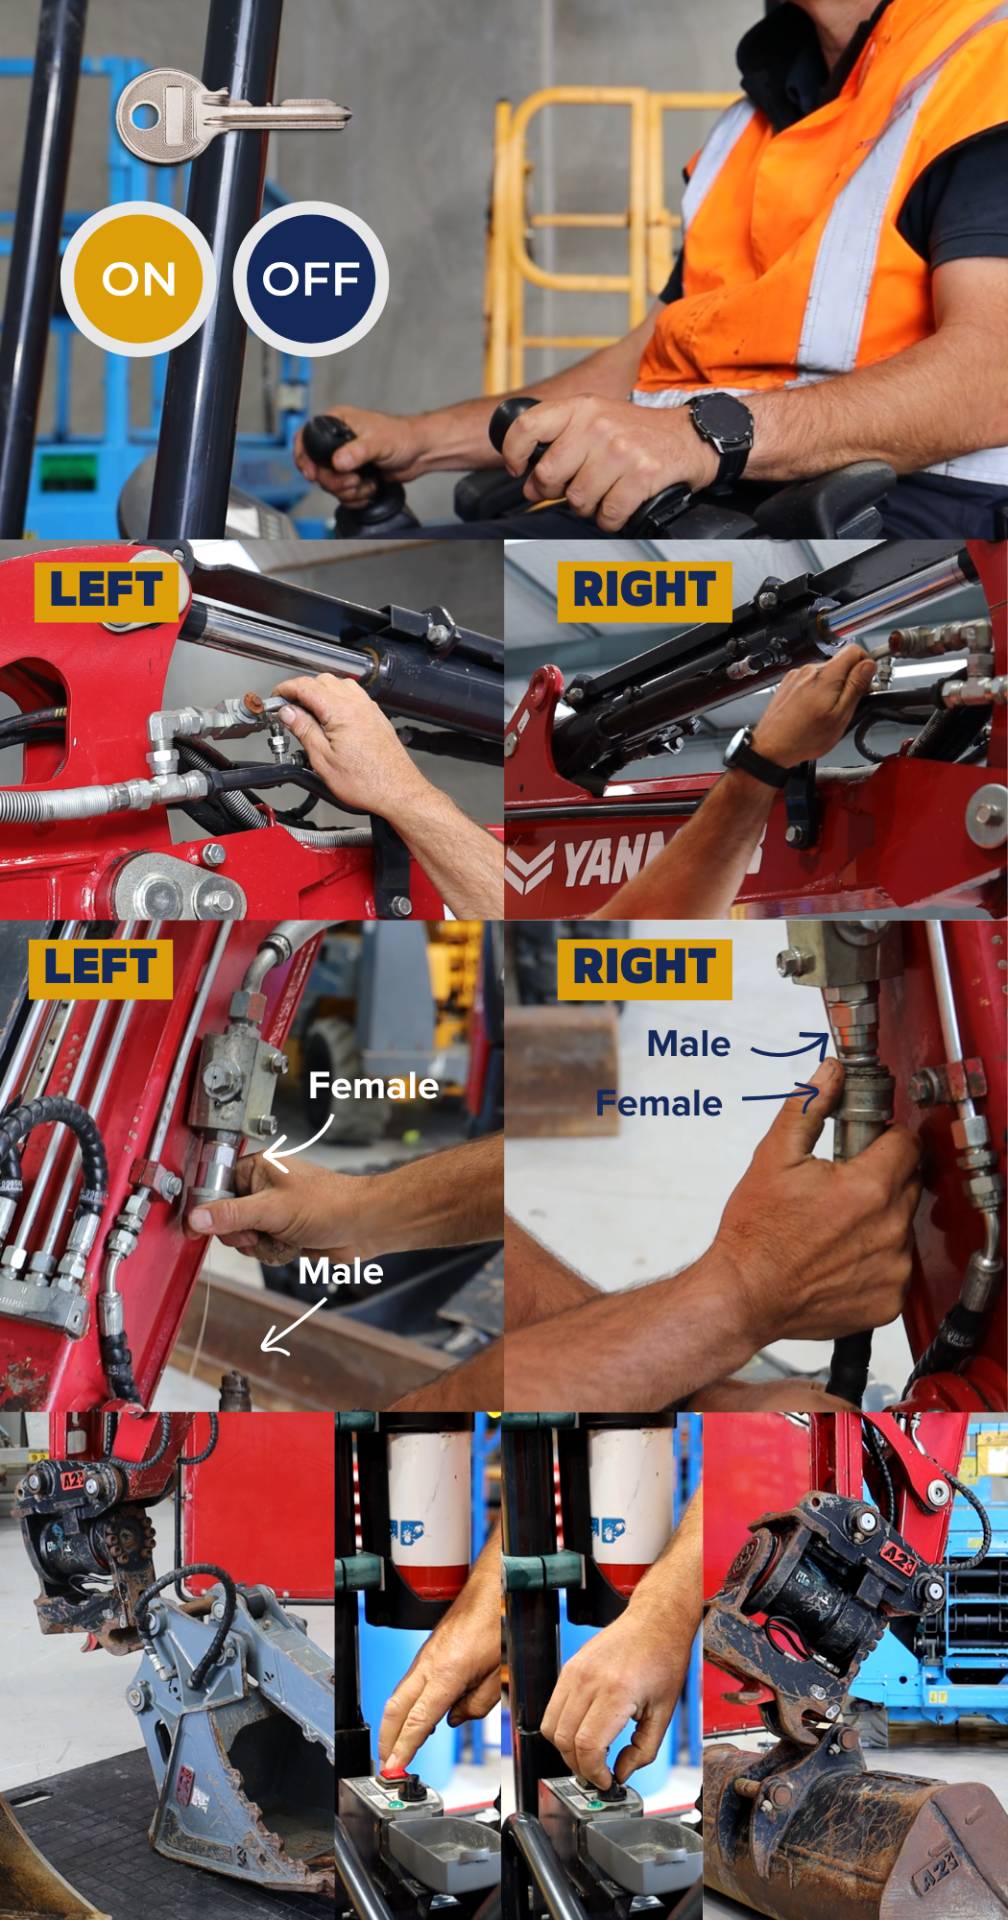
Turn the engine off, then back on with one click of the ignition. Push the safety bar down. Cycle the thumb toggle, or whichever control runs the attachment function, a few times. This clears any oil pressure sitting in the lines before you try to connect the couplers.
If A Coupler Won't Budge: Loosen The Fitting, Don't Force It
On a bigger attachment, or one that's built up more pressure than usual, the coupler can be tough to push in even after cycling the controls. Don't force it and don't hit it with a hammer. Loosen the fitting slightly to let a small amount of oil escape, which drops the pressure. Then push down on the poppet again and do the fitting back up tight.
Step 3: Connect The Hydraulic Couplings
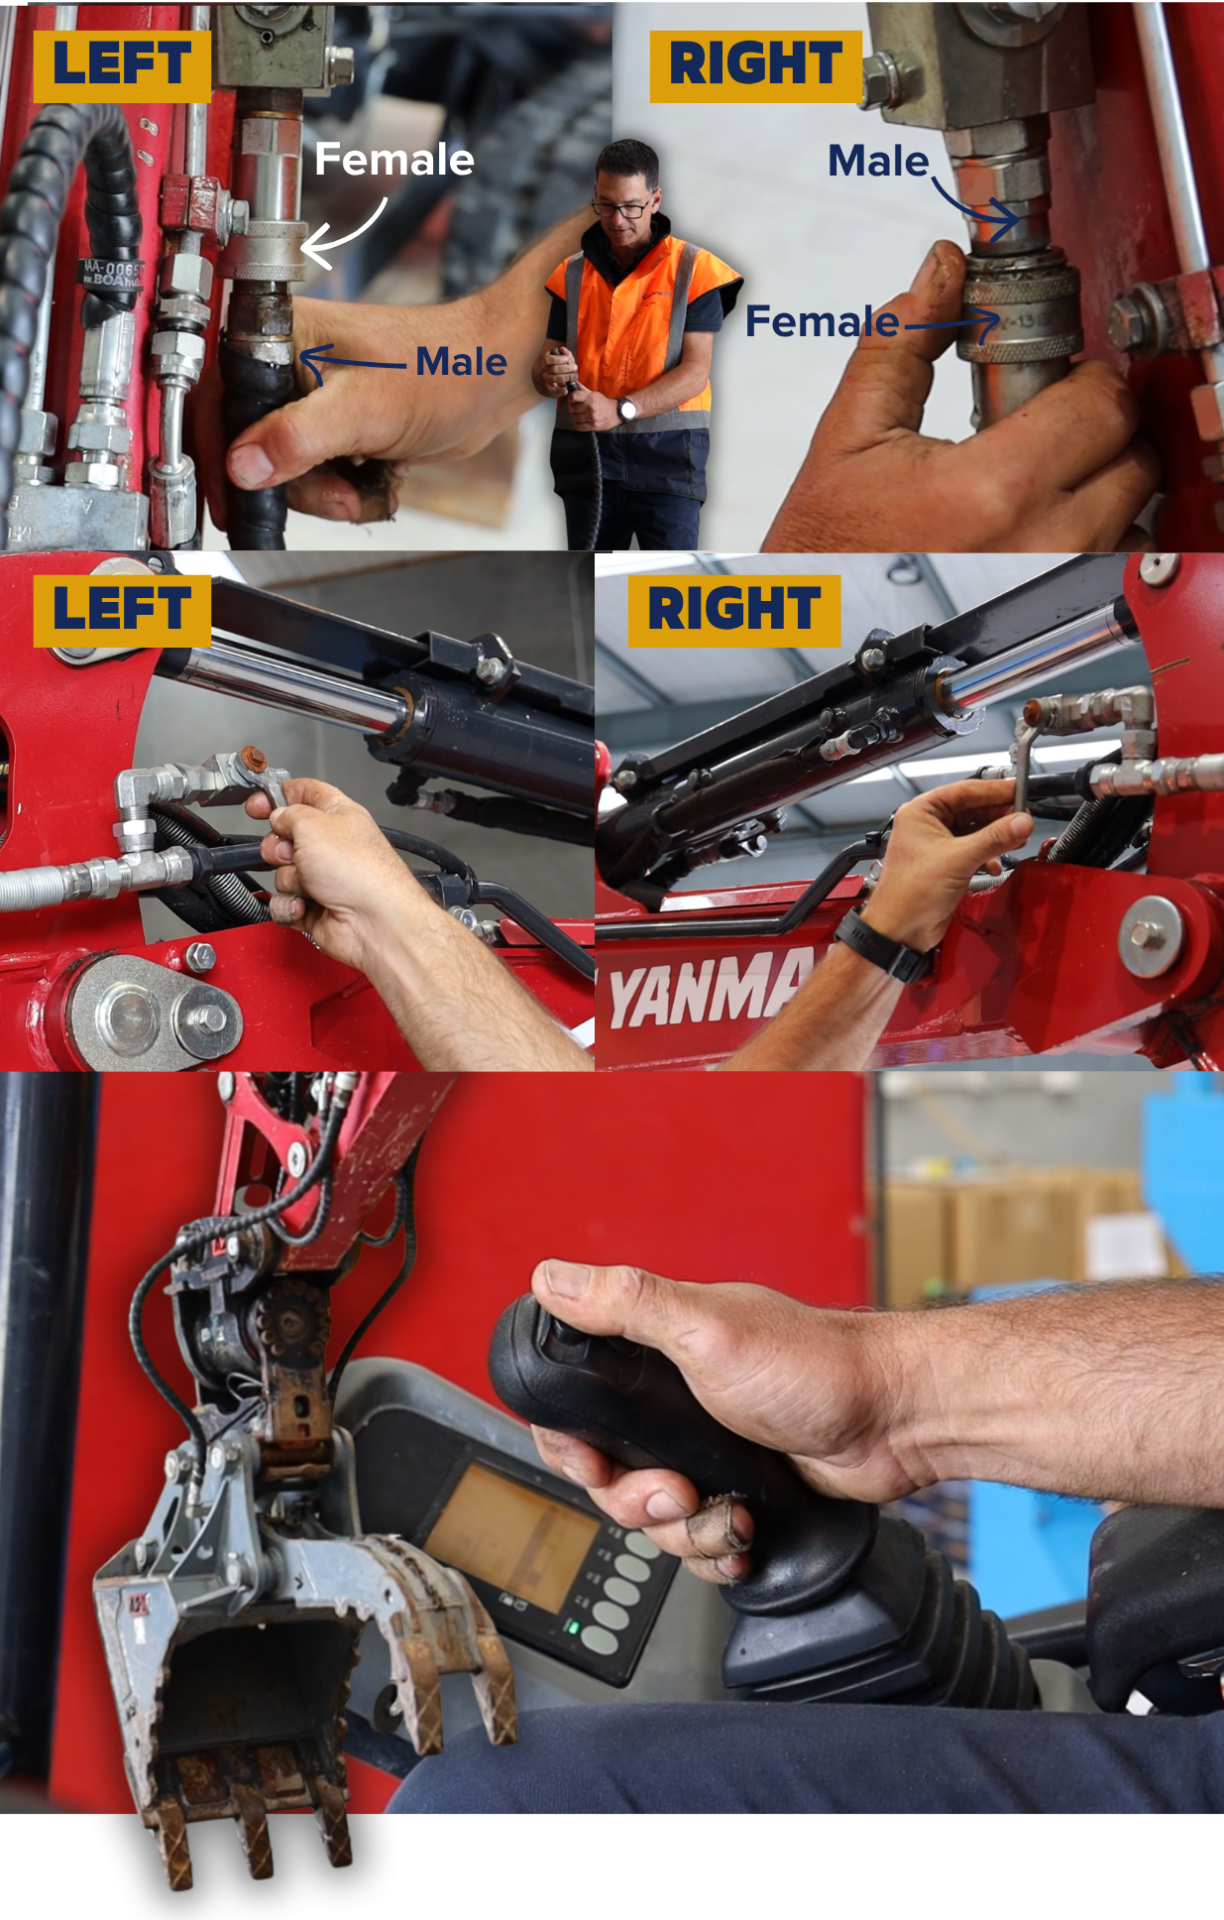
Each side of the machine carries one male and one female quick release coupling, and they're positioned opposite each other. Looking from the cab, on the left, the female sits above the male. On the right, it's flipped, the male sits above the female.
To connect them, take the loose coupling on the attachment's hose and match it to its opposite on the machine. Wherever the machine has a female fitting, the attachment brings the male, and wherever the machine has a male fitting, the attachment brings the female. Line it up, push it in, and let it retract into place. It should lock on with no resistance if the pressure's been released properly. Repeat for the other side.
Step 4: Check And Open The Taps
Turn the tap a quarter turn to divert flow from the tilt to the attachment. That's turning it from horizontal (tilt) to vertical (attachment).
Step 5: Operate The Attachment
The same thumb toggle that ran the tilt now runs the attachment. You're ready to work.
Removing A Hydraulic Attachment
Step 1: Remove The Pressure
Turn the engine off, then back on. Cycle the thumb toggle to clear any oil pressure from the line. Turn the key off and climb down.
Step 2: Turn The Tap Back To Tilt
Turn the tap back to the tilt position. That's turning it back from vertical (attachment) to horizontal (tilt).
Step 3: Disconnect The Hydraulic Couplings
With the pressure released, pull each hose off the attachment. Same layout as when you connected them: from the cab, the female sits above the male on the left, and the male sits above the female on the right. Work through each side in turn. If the pressure's properly cleared, there's no resistance and no need to force anything.
Step 4: Reattach The Bucket
Back to the quick hitch. Power on, dismount off the attachment, swing over to the bucket, set to couple, power off, and you're good to go. For the full quick hitch process, watch our How To Use A Quick Hitch On A Yanmar Excavator video.
Hydraulic Attachment Safety Checklist
Before every attachment change, run through this:
Flat ground: Is the machine on level, stable ground before you start?
Clear swing area: Is there anyone within the swing radius of the machine?
Pressure released: Have you cycled the engine and the controls to clear oil pressure before touching the couplers?
Coupler resistance: If a coupler won't budge, have you loosened the fitting to bleed it rather than forcing it?
Correct sides: Female QRC on the left, male QRC on the right?
Tap position: Turned to the attachment before you start work, and back to tilt before reattaching the bucket?
Why do I need to release hydraulic pressure before disconnecting the couplers?
The lines hold oil pressure even after the machine's off. Trying to disconnect a coupler under pressure can damage the fitting and make it far harder to connect cleanly. Cycling the engine and controls clears that pressure first.
What if a coupler still won't disconnect after I've released the pressure?
Loosen the fitting slightly rather than forcing it or hitting it with a hammer. That lets a small amount of oil escape and drops the remaining pressure, then you can push the poppet again and do the fitting back up tight.
Why is there a tap I need to turn?
On the 2.5T, the auxiliary line that runs your attachment is shared with the tilt function. The tap diverts hydraulic flow between the two, so you need to turn it before the attachment will operate.
What attachments does this process apply to?
Any hydraulic attachment that runs off the auxiliary line, including breakers, augers, and tilt buckets. Talk to the team about what suits your job.
Does this shared tilt and attachment line apply to other machines in the Yanmar range?
This guide covers the 2.5T specifically. Larger machines in the range may be set up differently, so check with the team if you're running attachments on a different size.
Similar
Articles
Donation
Request
While we appreciate the many causes that reach out to us, we are not able to support every request we receive. We carefully evaluate each opportunity to ensure alignment with our mission and resources. Thank you for your understanding.
Request
hire
Make an
enquiry

